In this post, I am sharing primary steps to install MySQL 5.7 on Ubuntu 16.04.
Please follow the below steps, and get ready with MySQL 5.7 in few minutes.
Please follow the below steps, and get ready with MySQL 5.7 in few minutes.
Step 1: Update the server package
1
|
sudo apt-get update
|
Step 2: Install latest MySQL Server from updated package
1
|
sudo apt-get install mysql-server
|
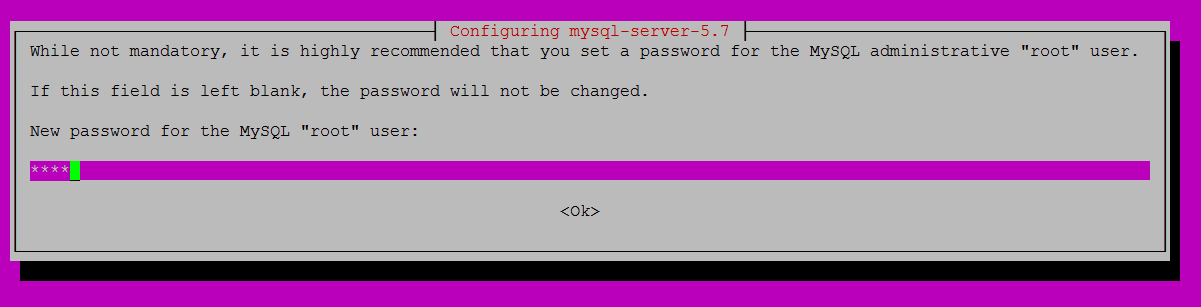
Step 3: Ask for Root user password, so enter your Root password and press OK
Step 4: Make sure about default MySQL Security Options
1
|
sudo mysql_secure_installation
|
For testing, I passed below options:

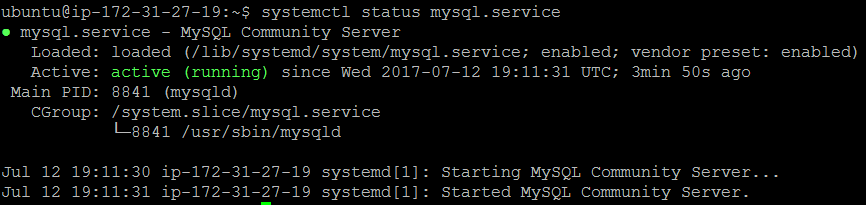
Step 5: Check the MySQL Service Status
1
|
systemctl status mysql.service
|
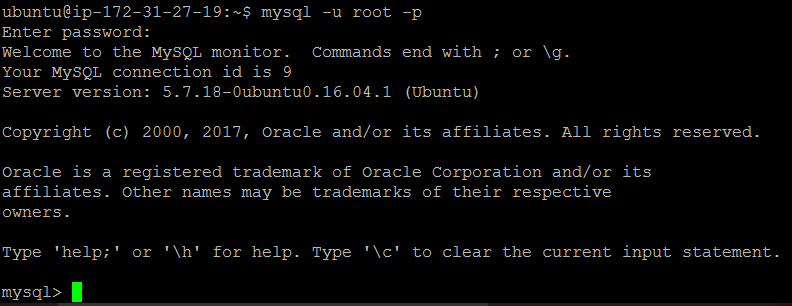
Step 6: Connect MySQL using root user
1
|
mysql -u root -p
|
Step 7: Final – Check the version details
1
2
3
4
5
6
|
mysql> select version();
+-------------------------+
| version() |
+-------------------------+
| 5.7.18-0ubuntu0.16.04.1 |
+-------------------------+
|


0 comments:
Post a Comment